5.19.2008

Happy Anniversary Bryan and Anne!!

My wedding season begins this Saturday. I will be posting weddings I have photographed just about every week until August so that's exciting news for you guys who love to see lots of new photos!

Update on my free wedding photography contest: I have one official submission so far. I'm not going to reveal any of the information- but whoever goes up against this couple, it will be some stiff competition. They are totally cute and very deserving :)

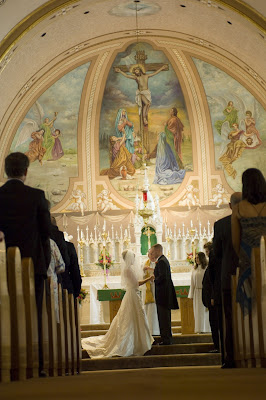
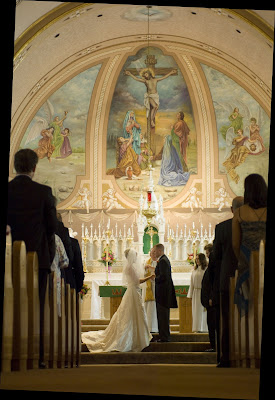
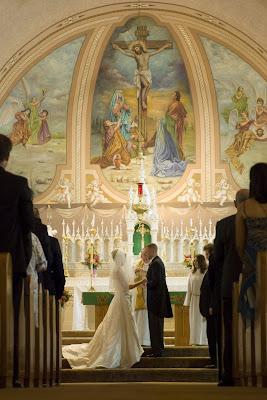
The real reason I am here is to wish Anne and Bryan a Happy Anniversary! What an amazing and beautiful couple they are. Here is a photo I took of their wedding on May 19, 2007.

Hope you guys have a wonderful day celebrating :)

5.15.2008

York Street Fair

Here are a few of the shots I took at the York Street Fair on Mother's Day (Sunday).
Anyone recognize the Seurat painting? "A Sunday Afternoon on the Grande Jatte"

5.13.2008

Albums

Lately I've had a lot of questions about how long it takes to get an album made. I would like to shed some light on the subject.
There are many variables that come into play with this timely process.
Number one, it's going to depend on what style of album you want- flushmount or traditional. Both take time to design, but flushmounted albums tend to take a bit longer and take far more creativity and originality.
Of course one thing that greatly determines the album assembly is how long it takes the bride and groom to pick their photos. I do not rush couples- this too is a difficult process- and luckily in most cases, I'm not responsible for this part and during this moment in time, I get to relax. The white notebook paper in the photo represents the drafting portion of designing the album. Sometimes I will draft the album 5 different times because things didn't fit just right, because I forgot a photo, or if I simply numbered the pages wrong when drafting the album.
Then I order the prints. I do not order them first because I'm infamous for making some photos bigger at no charge so that the album looks not just great, but amazing.
After design I order the actual album and mats that I need.
I order both albums and prints online so I am subjected to shipping times and any packaging "mix ups".
Then I deal with any "mix ups" I have made while ordering albums and prints.
Slowly the album comes together and I mount photos into the mats any chance I get until the final product is ready for delivery. I cannot work on priceless albums with a crawling infant or spill crazy 4 year old around- so assembly can be tricky. And God help you if a photo sticks to the mat before you have it perfectly in place! This requires several minutes of razor blade action- fun.

It is a long and tedious process, but rest assured that your album will be handled swiftly with professionalism and perfection- if there is a single thing that you are dissatisfied with, I will make it right.

Estimated amount of time it takes to put together an album: ????

5.12.2008

Mother's Day

On Mother's Day I went to the York Steet Fair with my family. I took a ton of photos, most of which I will post later. I am putting up the most important ones from the highlight of the day- AJ's face painting. We waiting for about an hour in line- no exageration- to get his face done like this and it was so worth it.
He ran, jumped and climbed like Spider Man the entire way back to the car.

5.08.2008

Win Free Wedding Photography

In case you haven't heard and you only check my blog...
I'm giving away free wedding photography.
All contestants need to do is send me an email about why you and your fiance deserve free wedding photography.
The deadline for entries is June 1st, 2008- So get on the ball!
There are rules that apply so check out the main website for details.

Straightening Photos 101

Let's pretend for a moment that I'm not the world's most perfect photographer, and once in a while I take a crooked photo. For Adobe Photoshop users, I'm going to show you a quick tip on how to straighten photos. Here is a crooked photo I took at Kristen Kilker and Matthew Drummond's wedding - It's a shot I like to take a lot from the back of the church laying on the ground- and the original photo is usually crooked ;)

What you do to achieve straightnes is:

Grab the ruler tool that is in the drop down menu under the eye dropper.

Find a line you want to make straight.

Draw your line by clicking two even points along your subject (in this case my stairs).

Go to Image, Rotate Canvas, Arbitrary and click OK. This will give you the image below.

*Please keep perspective in mind- in some photos the lines should NOT be straight due to your perspective- you need to be paralell to the line when you shot it for it to make sense to staighten it.
Don't forget to recrop!

And voila. Straight.

So when you have a photo that's not straight and it NEEDS to be, use your ruler.

DO NOT try to crop it with a tilt- it NEVER works right- it will still be off. The ruler uses exact measurements.

If you're having trouble or don't have Photoshop, send it to me through email and I'll send it back to you straight.

I'm always here to help!

5.07.2008

My new plant


I'd like to pay a tribute to one of my favorite flowers/plants- the fuchsia. It's a hanging plant and it loves shade and water. I'm going to try so hard not to kill it.