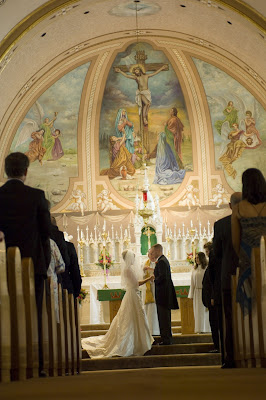
Grab the ruler tool that is in the drop down menu under the eye dropper.
Find a line you want to make straight.
Draw your line by clicking two even points along your subject (in this case my stairs).
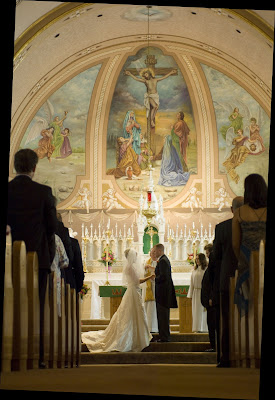
Go to Image, Rotate Canvas, Arbitrary and click OK. This will give you the image below.
*Please keep perspective in mind- in some photos the lines should NOT be straight due to your perspective- you need to be paralell to the line when you shot it for it to make sense to staighten it.
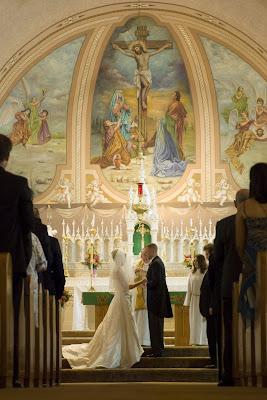
 Don't forget to recrop!
And voila. Straight.
So when you have a photo that's not straight and it NEEDS to be, use your ruler.
DO NOT try to crop it with a tilt- it NEVER works right- it will still be off. The ruler uses exact measurements.
If you're having trouble or don't have Photoshop, send it to me through email and I'll send it back to you straight.
I'm always here to help!


1 comment:
Ummm maybe you should try taking a photo straight and then you don't have to about it.
PS I LOVE THAT GREEN IN THE BACK OF THE CHURCH!!!
--M
Post a Comment